the only chocolate cake that matters.

I’m almost completely positive that my children are plotting against my sanity today. Whining. Fighting. Selective hearing. A dog got hit in the face with a stuffed otter. I was the victim of a biting incident. I may have threatened to sell all of my kid’s toys in a garage sale.

And the worst part of all is that the chocolate cake I would normally stuff my face with on a never-ending, my kids are winning, how can bedtime still be so many hours away, kind of day… is gone. It’s a serious tragedy. I ate the last piece, and licked the plate, in bed last night and I don’t have the ingredients to make another.

chocolatecakeblog-2

So, instead of eating my emotions, which is totally okay because this gorgeous piece of culinary heaven, is grain free, refined sugar-free, and can easily be made dairy free if you use coconut oil instead of  grass fed butter, I thought I would share my favorite dessert recipe with you. You can mix it all up in one bowl. And every single person who eats food will love it. Unless they hate chocolate. Like my weird husband. But everyone else will adore you for making this. I promise.

chocolatecakeblog

(I adapted this cake from a yummy recipe I found here.)

The Only Chocolate Cake That Matters 

makes two 9″ round cake layers

Cake Ingredients

  • 1/2 cup cocoa powder
  • 1/4 cup almond flour
  • 1/4 cup coconut flour
  • 2 tsp baking soda
  • 1 tsp cream of tartar
  • 1 tsp cinnamon
  • 8 eggs
  • 1/2 cup maple syrup
  • 2 tsp pure vanilla extract
  • 1/2 cup grass fed butter softened or melted (or melted coconut oil if you want to make the cake dairy free)
  • pinch of sea salt

Frosting Ingredients

  • 1 cup organic palm shortening
  • 2/3 cup maple syrup
  • 1 1/2 tsp pure vanilla extract
  • 1/2 tsp pure almond extract (optional)
  • 1 tablespoon tapioca or arrowroot powder
  • 1 tablespoon coconut flour
  • pinch of sea salt

Instructions

cake

  1. Preheat the oven to 325 degrees
  2. Combine the cocoa, almond flour, coconut flour, baking soda, cream of tartar, cinnamon and sea salt. Stir until evenly mixed.
  3. Add the eggs, butter, maple syrup and vanilla.
  4. Beat with a hand mixture until the batter is smooth.
  5. Grease two 9″ round (or square) cake pans with butter or coconut oil. Then line the bottom of the pans with parchment paper.
  6. Evenly distribute the batter between the two pans.
  7. Bake the cake at 325 degrees for 20-25 minutes or until a knife inserted in the center comes out clean and your kitchen smells like a chocolate dream.
  8. Allow the cakes to cool completely before removing from pans and adding frosting.

Frosting

  1. Put all ingredients into a medium mixing bowl.
  2. Beat with hand mixer on medium high until fully combined and creamy, be careful not to over mix.

Putting it all together

  1. Place one layer of cake on a serving dish.
  2. Add a generous layer of frosting to the top and spread evenly.
  3. Place second layer of cake on top of frosting.
  4. Frost the top and sides of the cake.
  5. Finish by sprinkling the cake with cinnamon, and if you’re feeling crazy, some coconut sugar.
  6. Serve immediately or store in the fridge. If the cake is refrigerated be sure to remove  from the fridge 20-30 minutes before serving as the frosting does harden in the cold but will soften up quickly at room temperature.

chocolatecakeblog-4

Oh and if you’re feeling crazy, add some raspberries. Because the only thing better than chocolate is chocolate with raspberries, am I right?

chocolatecakeblog-6

chocolatecakeblog-5

Are you hungry yet? Go ahead, get baking. Use this cake for a birthday party or a potluck dish (do potlucks still happen?) or as a coping mechanism. It’s the perfect treat for all occasions. And no, I didn’t ask my threenager to stick his finger into the cake for these photos. It was literally all I could do to keep him from grabbing a handful. But really, who can blame him?

Processed with VSCOcam with t1 preset

two pounds of almonds. endless possibilities.

I use a lot of almonds. I mean a lot. Living a grain free lifestyle, and loving to bake, means I use almond flour regularly for baking. I use almond milk instead of cows milk for our whole family. And instead of peanut butter we all use almond butter. So, as you can see, almonds are a daily use item around our house.

The problem is, almonds can be a fairly expensive habit to support.

Not anymore.

I will not pay anywhere from eight to fifteen dollars for a jar of almond butter ever again. I will not buy cartons of almond milk that have added unnecessary ingredients. But I will keep my almond habit.

Here’s how.

Every week I buy two pounds of raw almonds from Trader Joe’s. They cost $6.99 per pound which is not too shabby, but you may be able to find them even cheaper by the pound elsewhere. Look around!

What do I do with two pounds of almonds every single week? I’m so glad you asked.

  • I make a jar of almond butter.
  • I make a jug of almond milk.
  • I use the pulp left over from making almond milk and I turn it into almond meal.

Not only am I now spending fourteen dollars a week on products that used to cost me twenty dollars a week, I am also completely in control of what does and does not go into my food. There are no unnecessary ingredients, it all tastes fantastic and it is super simple.

Let’s start with almond butter. You will need a food processor for this recipe. If you don’t have a food processor it is a wonderful investment to make. I use mine almost daily and I’m pretty sure you will too.

IMG_0655Another thing you will need to make almond butter is a decent dose of patience. The process is simple, but tedious and will take a while. At some point you will be positive that your almonds will never become butter. But they always do eventually and it’s worth it.This is what it looks like when I’m ready to give up every single time. But keep going, there is hope!

IMG_0657

See how beautiful hope is?

IMG_0658

Almond Butter

makes 16 oz

Ingredients

  • three cups of raw almonds
  • pinch of sea salt (optional)
  • 1/2 – 1 tsp cinnamon (optional)
  • coconut oil (optional)

*some people choose to add a sweetener such as honey or maple syrup to their almond butter. I find that the cinnamon adds a nice sweet touch without adding an actual sugar but it is also delicious with a tablespoon or two of your favorite sweetener. 

Instructions 

  1. Pour almonds into food processor and process away.
  2. When almonds get pushed against the side of the food processor, stop the processor and use a spatula to scrape the almond pieces off the sides. You will have to do this quite often for the first several minutes. Repeat this step until your almonds become almost almond butter.
  3. Add cinnamon and sea salt and coconut oil if desired (the coconut oil helps speed up the process, and cinnamon and sea salt are just delightful, but you can make almond butter with simply almonds if you want to).
  4. Blend until your almond butter is the perfect consistency and then store in an airtight container. Or eat it all in one sitting with apples or bananas or my favorite almond date milkshake recipe which I’ll share at the end of this post.

Now that was pretty easy, but almond milk is about ten times easier.

IMG_0654For making almond milk you will need a nut milk bag which you can order online or find at some local health food stores. I ordered mine here, it is currently on sale for only $8.99.

IMG_0656

My kids come running when I make almond milk and they ask for it all the time. Sometimes I tell them we’re out of it, even when maybe there might be a tiny bit left, because I need it for my milkshake. Seriously when you guys try the recipe you will understand! But more on that later. Back to almond milk…

almondblog

Almond Milk

makes approx 7 cups

Ingredients

  • two cups of raw almonds (many people choose to soak their almonds overnight, there are lots of articles you can read about why this is a good idea. It is not necessary for making the almond milk but if you find you have a hard time digesting nuts, soaking them will help!
  • two Medjool dates (pitted and sliced into quarters)
  • 1 tsp vanilla
  • 1/2 tsp cinnamon
  • 7 cups water

Instructions

  1. Put all on the ingredients into a blender.
  2. Blend the mixture on high for approximately thirty seconds.
  3. Place your milk bag in a large mixing bowl (as seen in the photo above of Hudson staring lovingly at a large yellow bowl) and slowly pour the contents of the blender into the bag.
  4. Tighten the draw string on the milk bag and squeeze all of the almond milk into the mixing bowl. When you think you have all of the liquid out of the pulp, squeeze it one more time just to be sure.
  5. Set your milk bag, which is now filled with almond pulp, to the side and pour your almond milk into a pitcher or milk jar or directly into your mouth. Whatever works.
  6. Enjoy!

IMG_0700

Now you want to grab your milk bag filled with almond pulp and make some almond meal. Simply spread your almond pulp out in a thin layer on a non stick baking sheet, or a baking sheet lined with parchment paper. Now toss it into an oven preheated to 170 degrees fahrenheit. You want to bake this at a low temperature, for two hours, to remove any excess moisture left in the pulp. Be sure to stir every thirty minutes, and two hours later you will have almond meal. Now bake whatever you’re craving!

For the record, almond meal made from almond pulp is not quite as fine as almond meal or flour from the store, so it does slightly change the consistency of your baked goods. I use it primarily to make the almond meal biscuits that we use for sandwiches. If I’m baking cookies or a cake I use my emergency bag of Trader Joe’s almond meal. But next time I make almond meal I am planning to try blending the dried out meal in the food processor for a few seconds so it is more fine, and then I’ll try baking a dessert with it. I’ll let you know how it goes!

Now that you know most of my almond tricks, you need to know the most important one. Using the almond milk and the almond butter that you just made, you MUST make my favorite milkshake of all time. I found the inspiration for it here and only made simple modifications. I am not ashamed to tell you I eat this almost every single day.

Almond Date Milkshake

serves 1 (but you should probably double it because your kids will try to steal it)

Ingredients

  • 1 1/2 frozen bananas
  • 2 pitted Medjool dates
  • 1 cup almond milk
  • 2-4 Tbsp almond butter (my opinion is the more the better)
  • 1 tsp vanilla
  • 1/2 tsp cinnamon
  • pinch sea salt
  • 2-3 ice cubes

Instructions

  1. Put all ingredients into a blender.
  2. Blend until you have a thick creamy consistency.
  3. Eat it right away and then make another one because you know you want to.

So there are all of the ways I use and enjoy almonds. I’m addicted and I’m okay with it. Now go buy some almonds! And tag your almond goodness to #thecrunchyconfessional so I can see how it went!

almondblog-2

armpits. and pudding.

I can remember it just like yesterday. I mean it was only last week, but the trauma is as fresh as five minutes ago. We were driving to Whole Foods to buy clay for my face. (It’s a thing. It works. I promise. But more about that in another post.) We had just taken our exit when one of my children needed something super important right that very second. I remember reaching into the backseat to tend to my little angels. I was trying to reach whatever had fallen onto the floor and rolled just far enough out of my reach to make me swear under my breath. As I reached for it I suddenly realized that the terrible odor I was smelling was definitely coming from me. I dropped my arm down at lightning speed. Just as I was about to come up with a wafer thin excuse about why I could’t reach the dropped toy, I heard my husband do a quick double sniff.

The dreaded double sniff.

You know the one.

It’s not the deep inhale of a man savoring a woman’s perfume or delighting in the aroma of chocolate chip cookies. It was the quick, one two sniff, with the crinkled nose and the sideways glance. The double sniff that is typically reserved for dumpsters or newborn diapers or in this case his wife’s underarms. And then, just to make the situation more horrifying, for me, we had the following conversation.

Me: Oh crap, you just smelled me didn’t you?

Husband: Well yeah. But I’ve been smelling you a lot lately.

Me: (mortified and stuttering) WHAT?!?! What a terrible thing to say to your wife! What do you mean you’ve ‘been smelling me a lot lately’?!

Husband: I mean I know you’re experimenting with different deodorant options and…

Me: WHY DIDN’T YOU TELL ME!!! How many other people have been ‘smelling me a lot lately’? What did they say to you? WHO ELSE KNOWS ABOUT THIS?! This is the worst conversation I have ever had. Ever. It’s not my fault you know. They just don’t make a good aluminum free deodorant option. I am trying!!! Do you think I want to smell?

I continued on and on in my own defense. I was vaguely aware that my crazy was showing and my husband somehow refrained from laughing out loud at me.

But I knew how bad I smelled and I knew the Florida heat was out to destroy my quest towards smelling good and I knew I had most likely alienated dozens of potential friends because of my experimenting. And I wanted to scream. So I did. In my head anyway.

Why is there no middle ground between smelling like a flower but filling your pits with aluminum, and saving your body from all of the aluminum and chemical exposure but sweating like a pig and smelling like a trash can? 

THERE HAS GOT TO BE A BETTER WAY!

That day I stayed in the shadows at Whole Foods hoping that everyone else was too busy, figuring out how to sell their stocks to pay for quinoa and kale, to smell me. I paid without making eye contact and high tailed it to the car. I was bound and determined to figure out a way to a) not smell and b) forego chemicals and metals and c) never have a conversation about my body odor with my husband EVER again.

You guys, the last seven years of my life has been spent experimenting. Experimenting with food and beauty products and household cleaners, and homeopathy, and holistic medicine, and acupuncture and essential oils and on and on and on. Once in a while I experiment in the kitchen and make an amazing recipe. And just as often I try some new goop on my face and wind up with a breakout reminiscent of eighth grade. I have found brilliant doctors who have helped me heal and regain a life I never thought I would live again. I also visited a doctor who went barefoot in her office and was a clown in her spare time. She tried some sort of laser, energy, Star Trek treatment on me. When I asked her to explain how it worked, she laughed and said she had no idea.

I couldn’t make this stuff up if I tried.

Now it’s time to share all that stuff with you. So wrapped up in between motherhood posts, and homeschool stories and dreams of saving sisterhood, I will continue to share with you my crunchy catastrophes as well as my biggest victories. Maybe you are on a healing journey of your own and some of what worked for me might help you. Maybe you can learn from my mistakes. Maybe you have had similar experiences and knowing you are not alone will be encouraging. Maybe you’re perfectly healthy and you can’t relate to my story at all but you want to laugh at a stranger. Whatever reason brought you here, welcome.

I’m excited to inform you that I think I may have found the answer for my armpits. I’ll share more when I’m absolutely sure, but I’ll give you something to research and think about in the meantime.

Magnesium oil.

It’s a miracle worker. Our bodies need way more magnesium than we give them. And our armpits tend to stop stinking when we use magnesium oil as deodorant. Now I have sensitive skin and straight magnesium oil is a little irritating for me so I am currently experimenting with exactly how much to use and how to dilute it so that it keeps me stink free but not in pain. Then you can benefit from my suffering. You’re welcome.

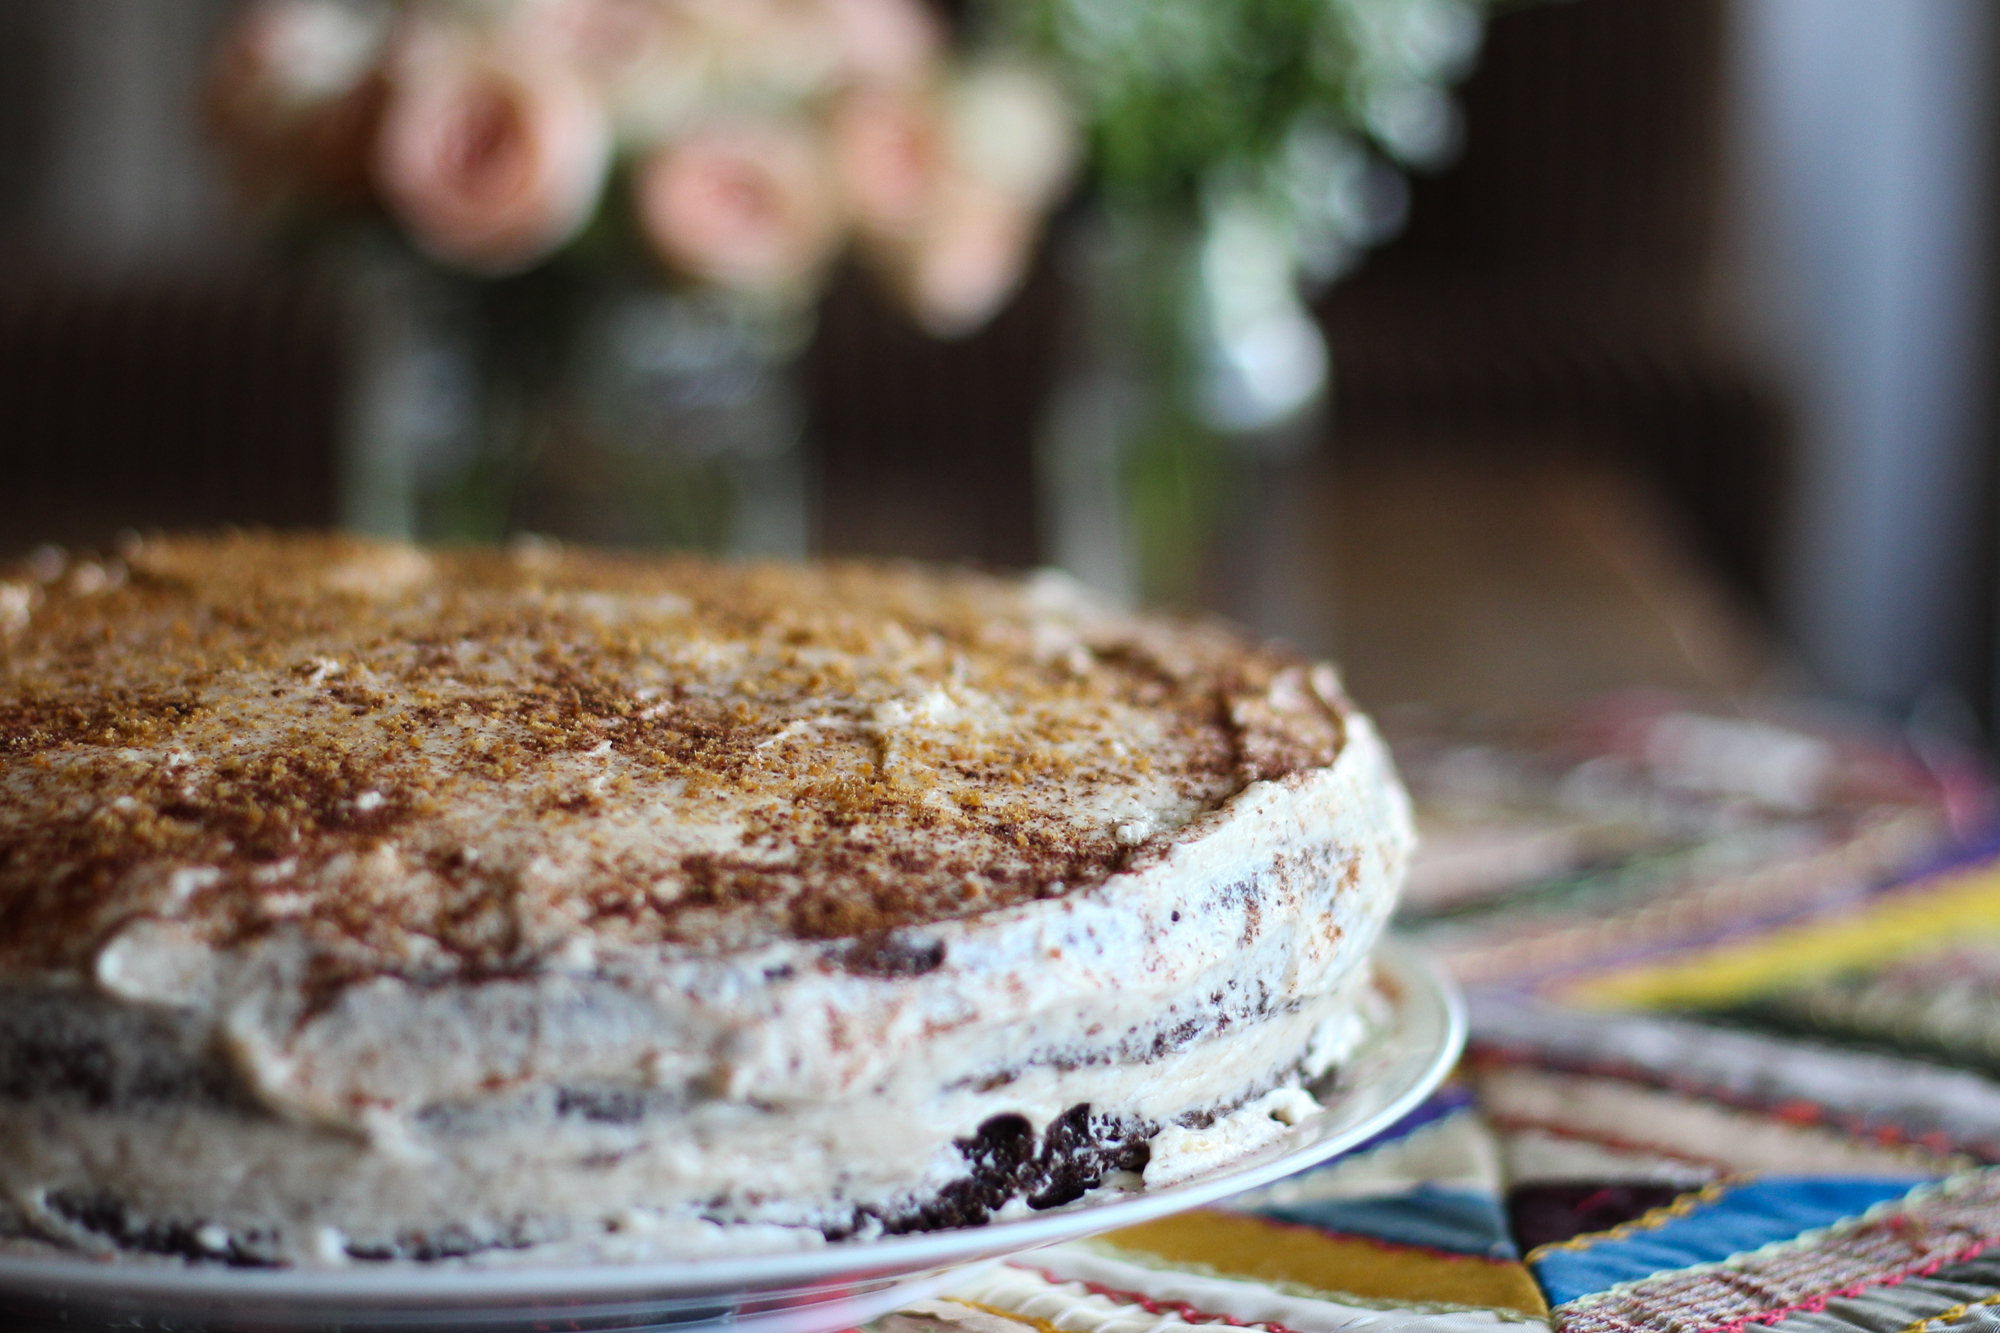
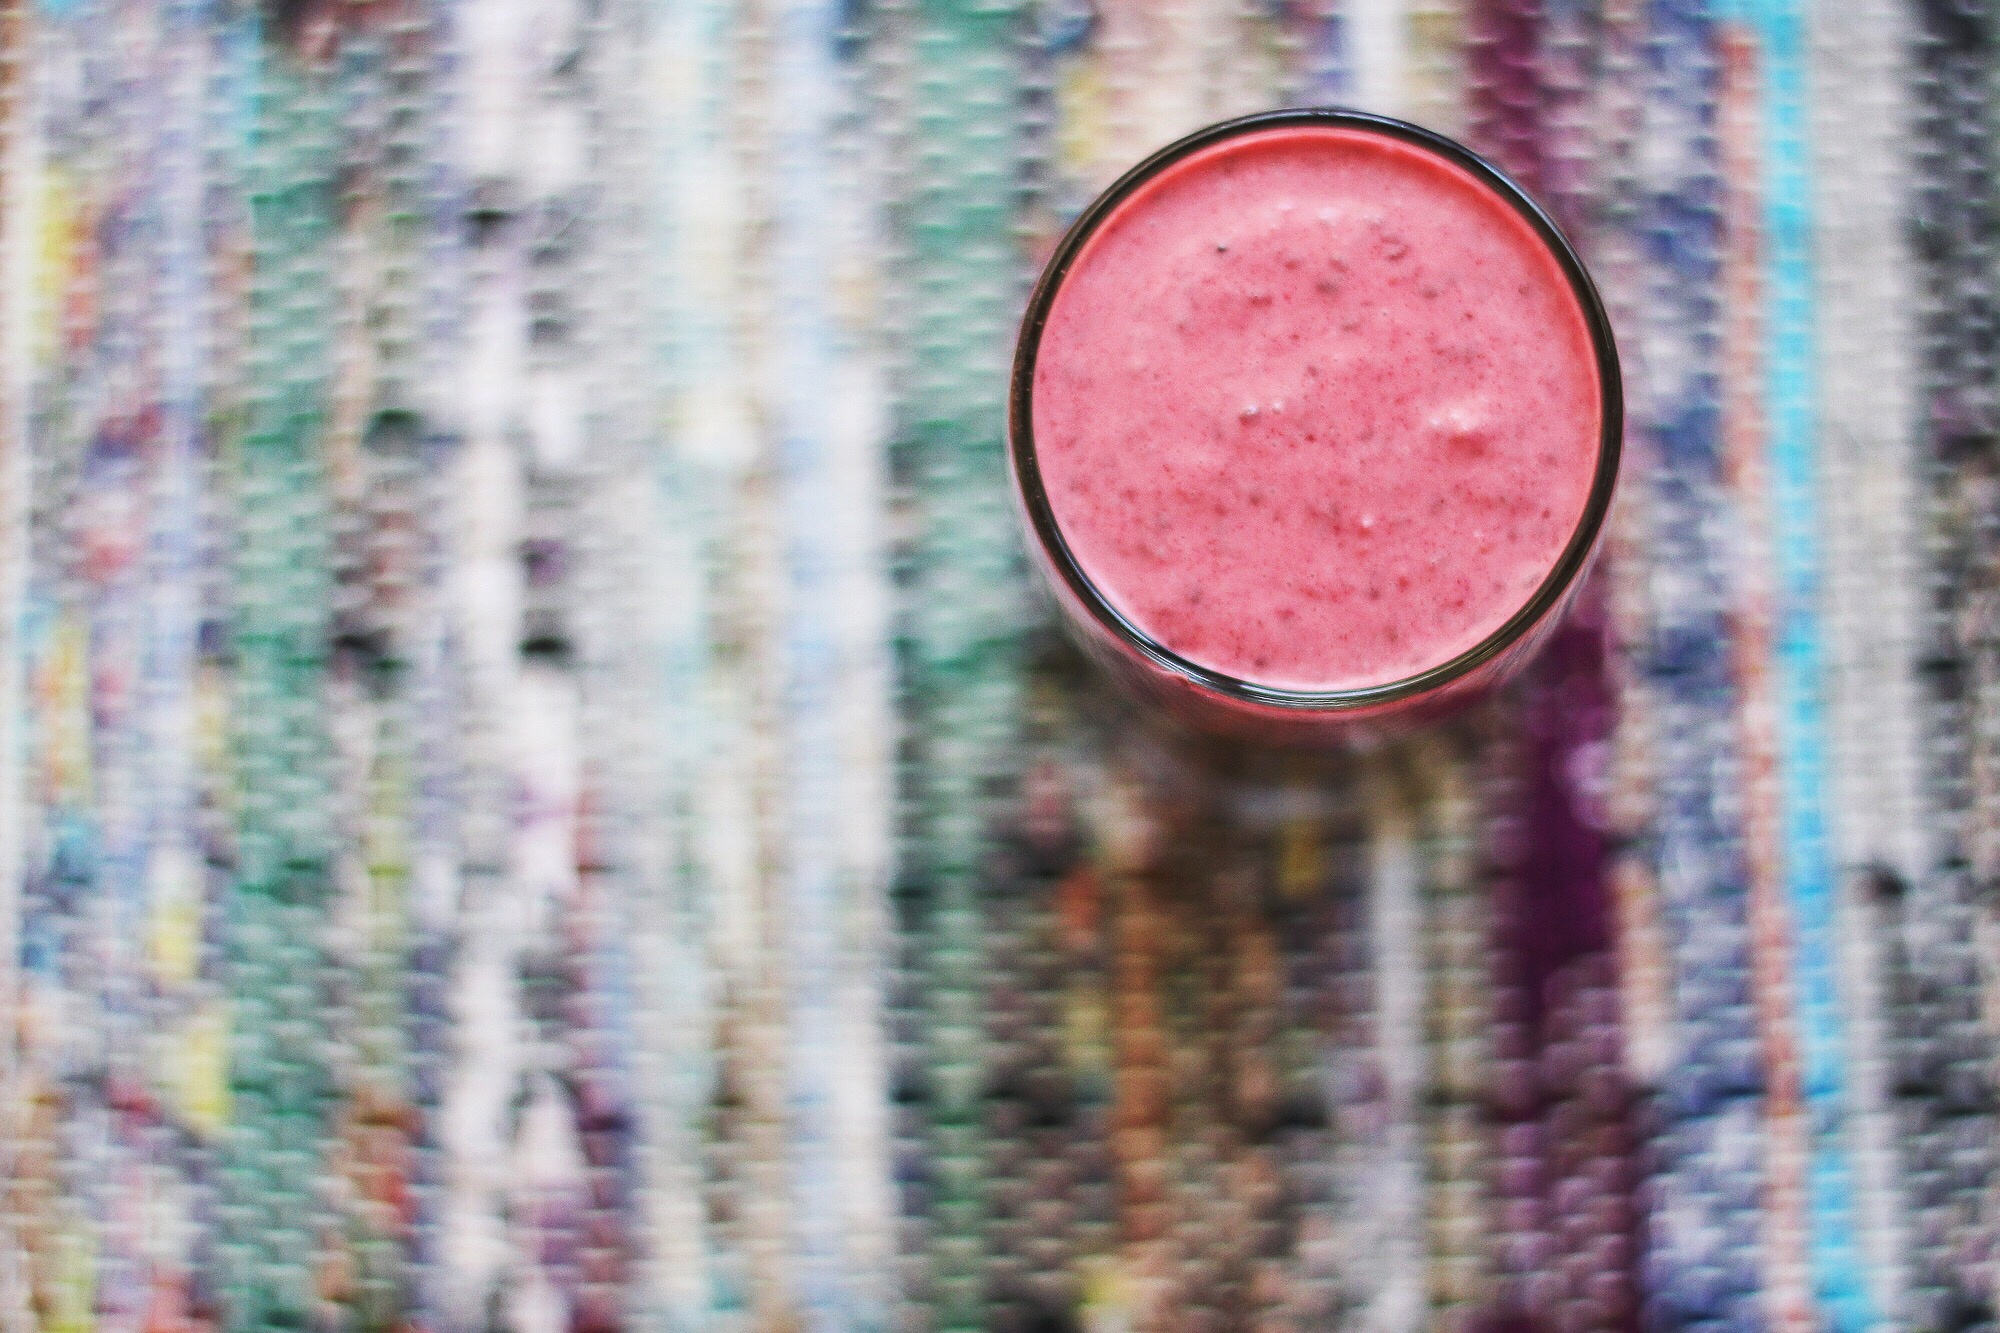
But seriously, read about it, I’ll be back soon to discuss the results of my experiments. Oh and I’ll talk about acne and how clay can heal your skin. Because that is a train you need to get on. And since you’ve stuck around this long and read more about my armpits than any one person should ever have to, I want to share the recipe for one of our favorite treats as a thank you and please come again. IMG_0080 I found the recipe for that gorgeous raspberry chia pudding right here. IMG_0081 
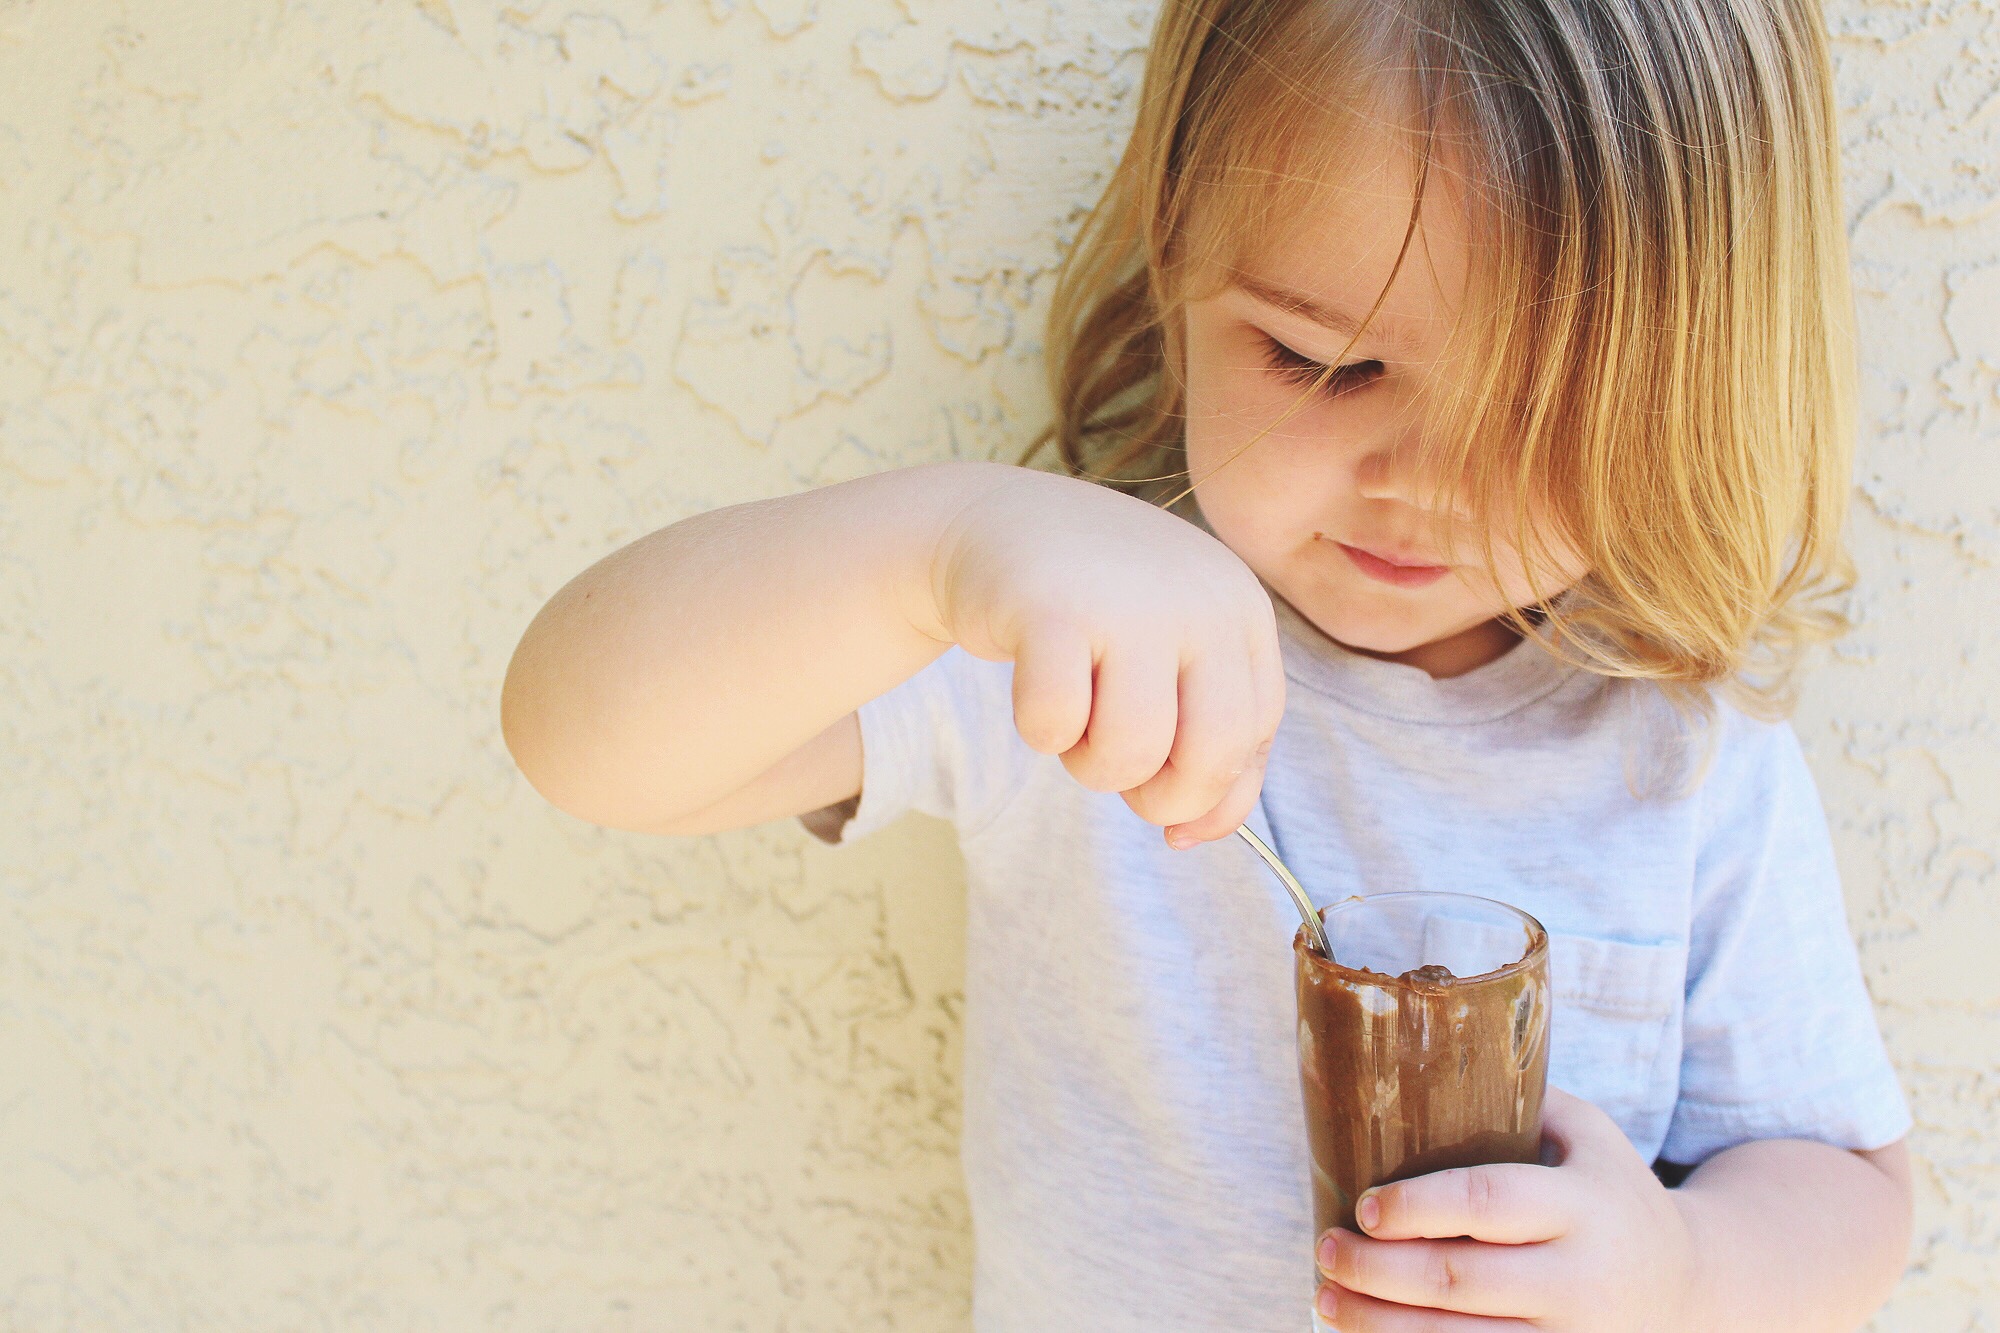
Then I made our go to avocado chocolate pudding. Yes I said avocado. And yes it is delicious. And yes one of my kids will eat it and the other one won’t because he says it looks like poop. Oh well, more for me. IMG_0086 And him. Because he loves pudding and I love him so I’m willing to share. A little bit. How do you make this pudding you ask? I’m not a food blogger so I don’t have the fancy recipe card plug in yet or anything, but this is so easy I think we’ll be okay with out it.

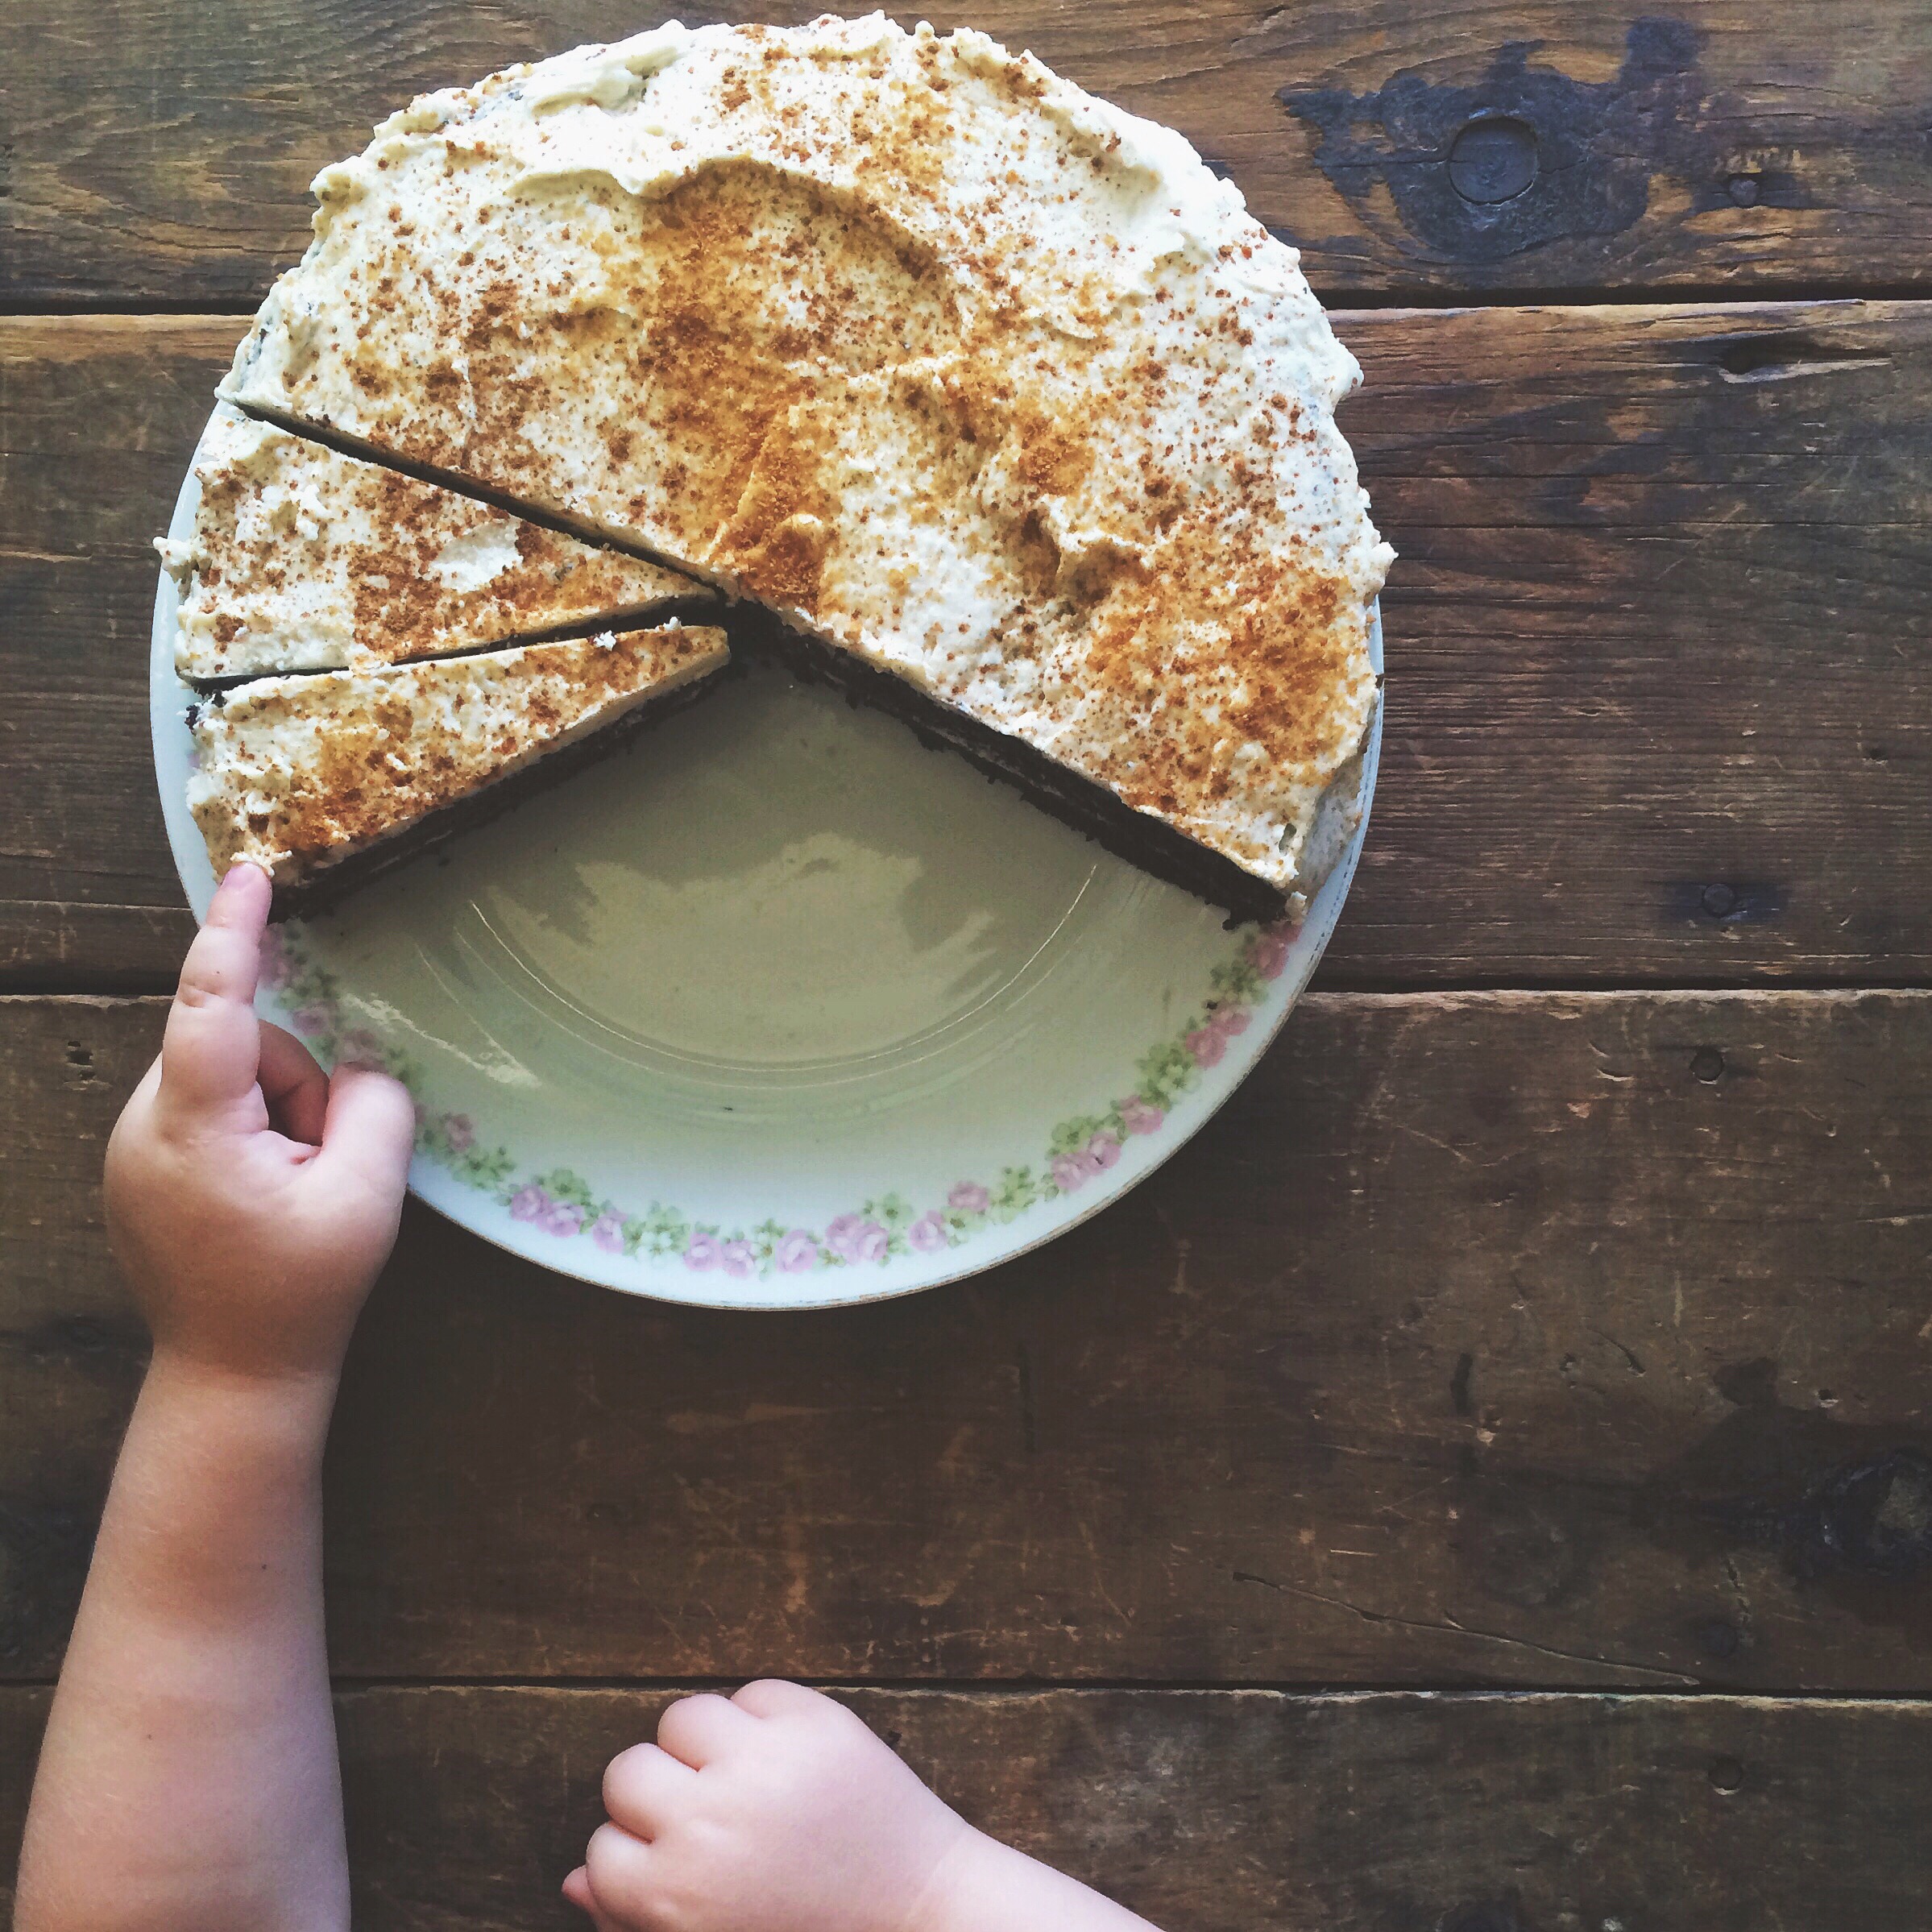
Chocolate Avocado Pudding
serves 3-4 (or one if you’re a pig like me)

Ingredients 

  • 1 medium avocado
  • 1/2 c medjool dates
  • 1/2 very ripe banana
  • 2 1/2 tbsp unsweetened cocoa powder
  • 1/2 tsp vanilla
  • pinch of sea salt
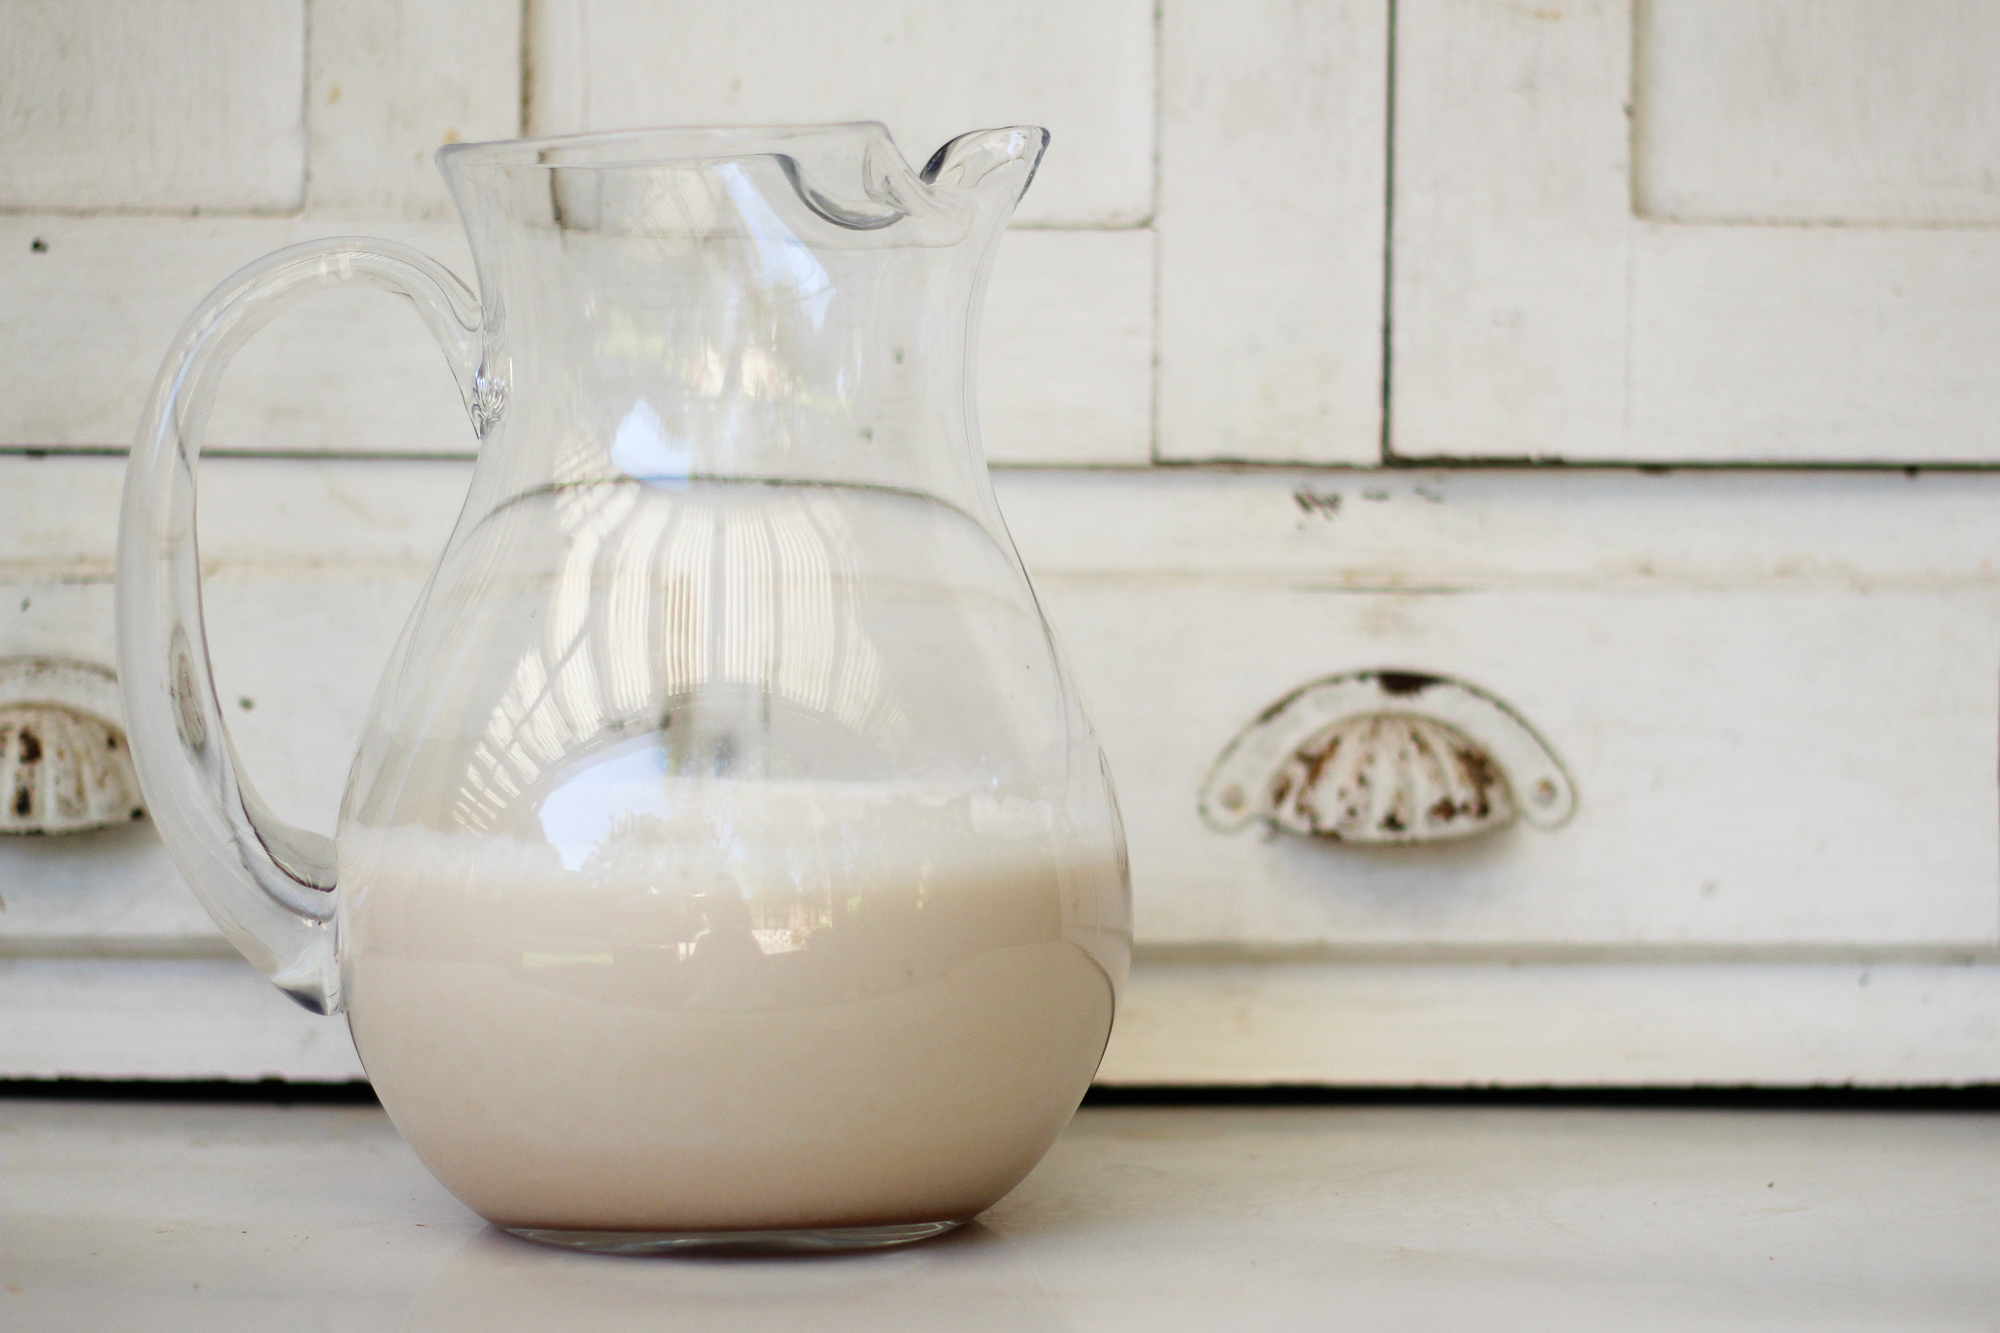
  • a small amount of coconut milk or water

Instructions

  1. Remove pits from dates and soak dates in warm water for 15-20 minutes.
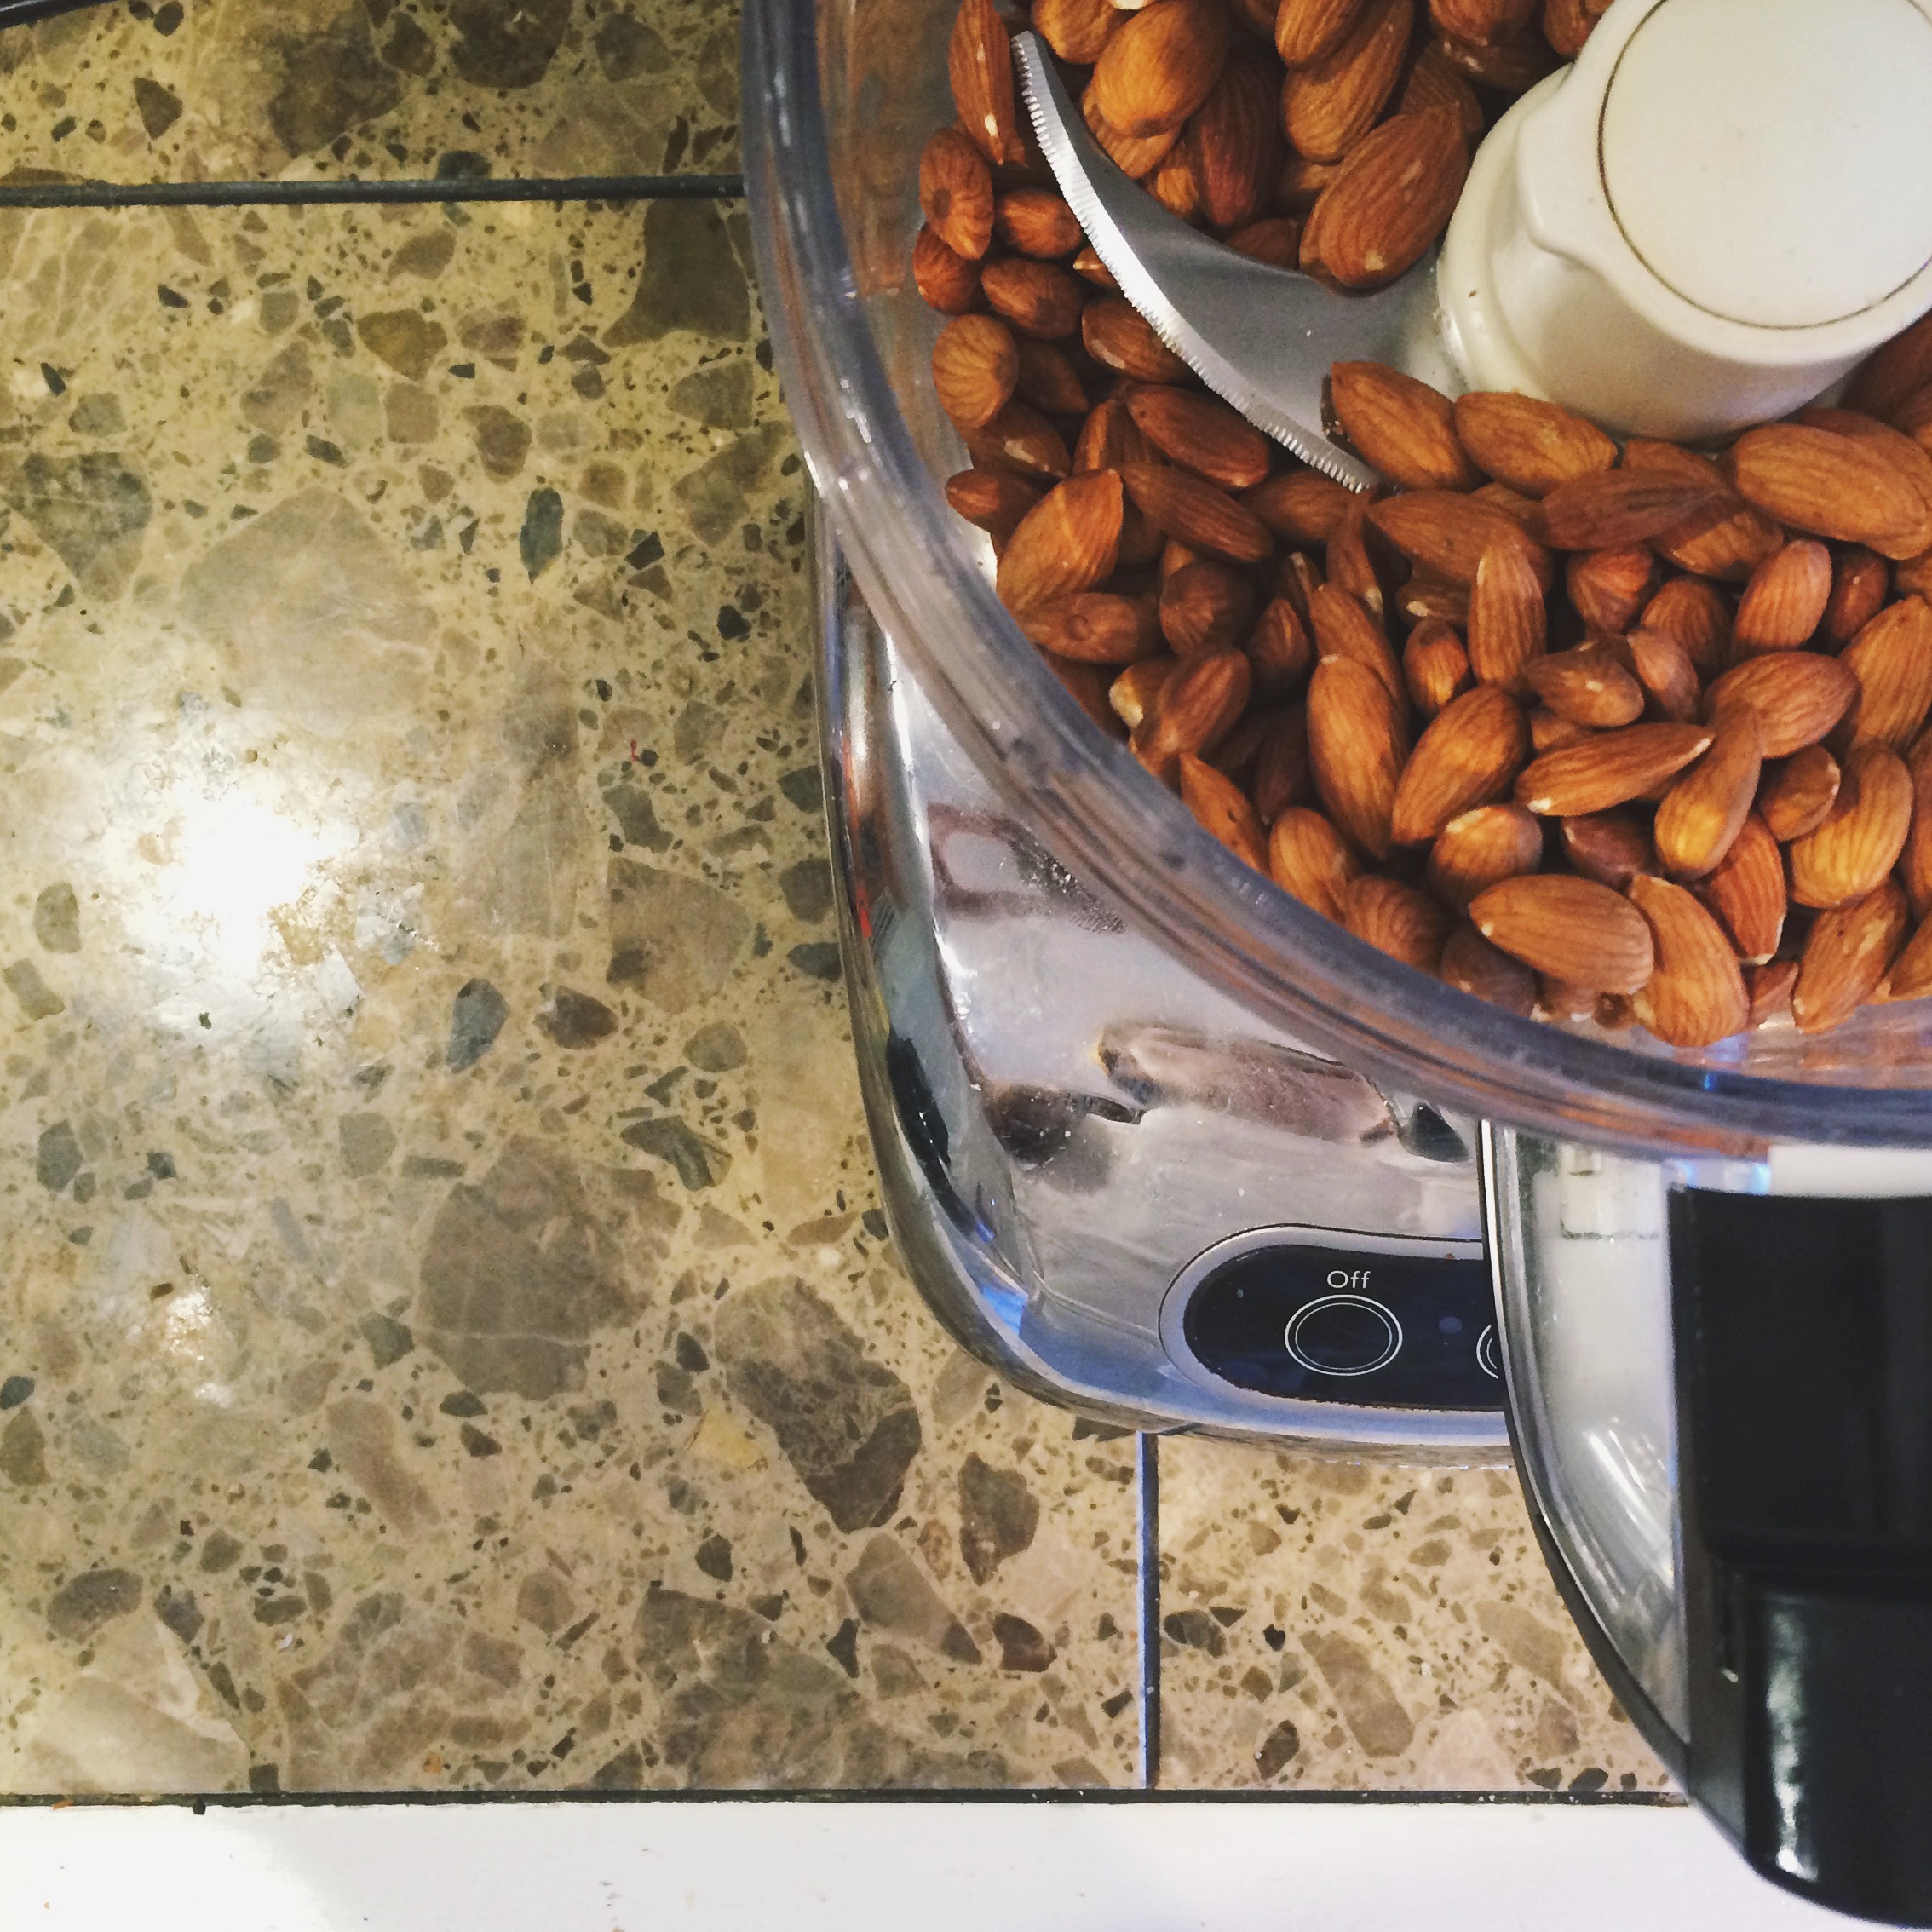
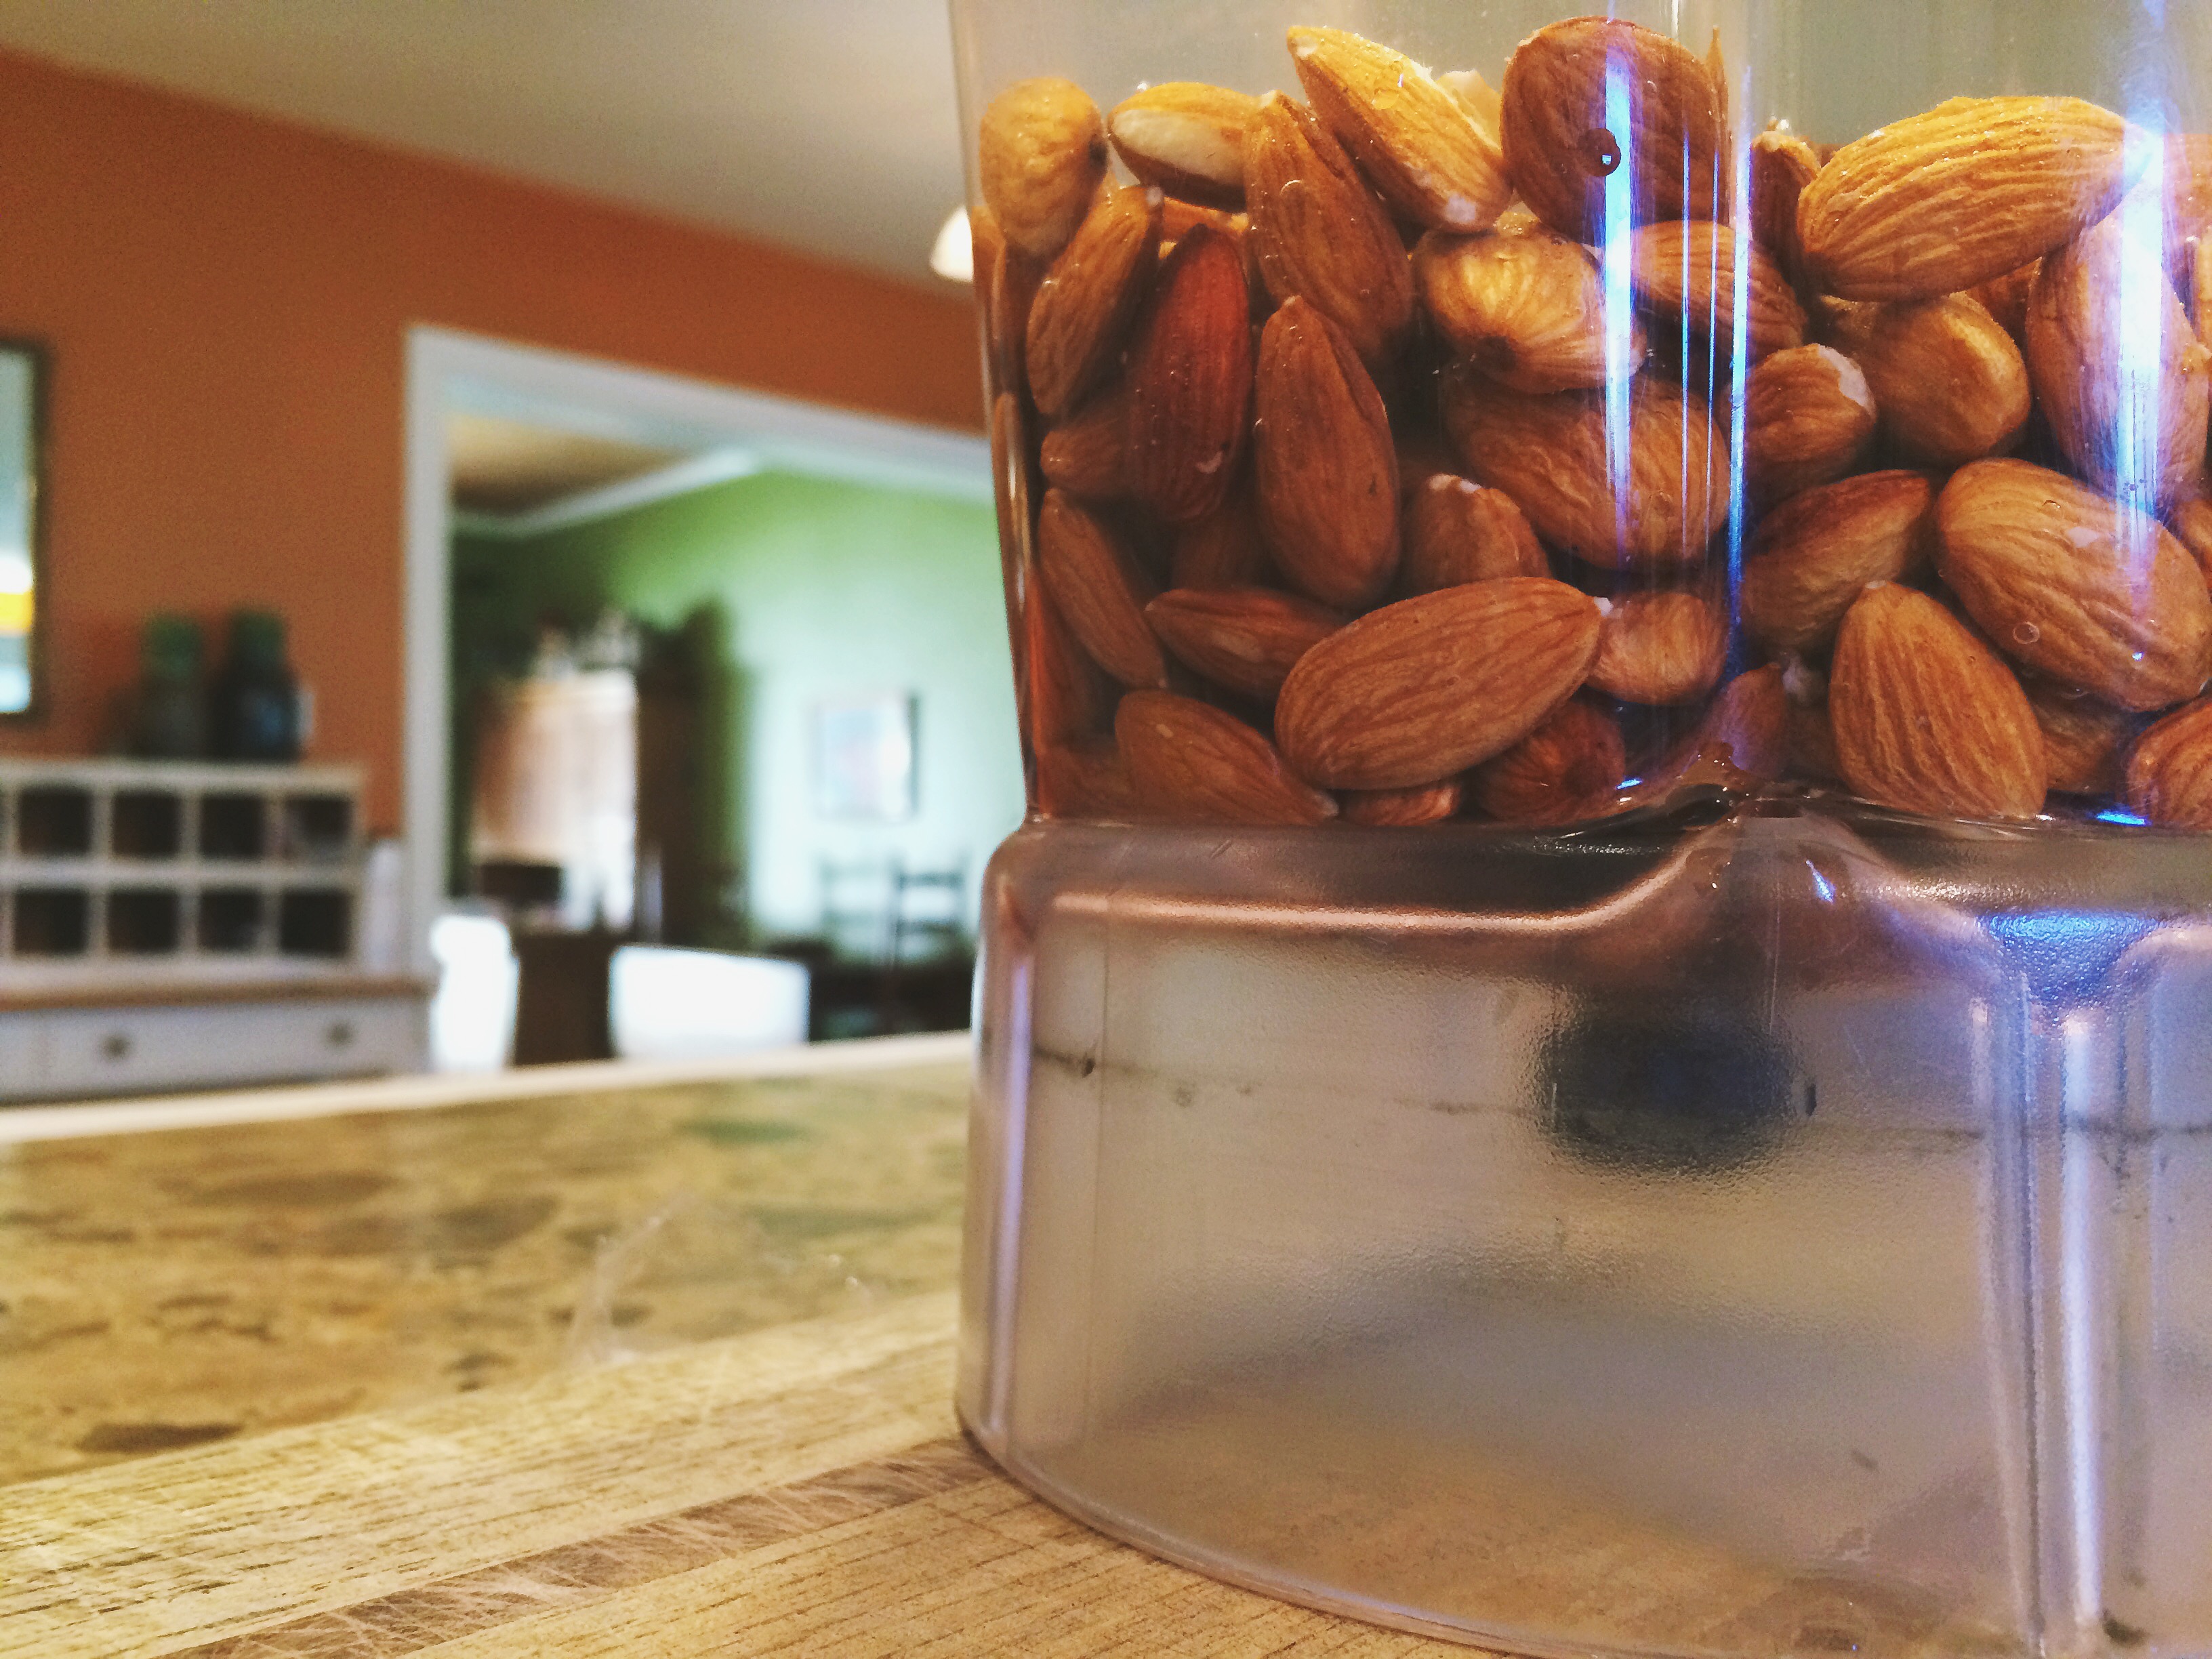
  2. Throw all of the ingredients, except for water/coconut milk, into a blender and puree. (It is important to note that a high powered blender like a Vitamix is the best for this recipe. However, I don’t have a Vitamix, in fact I blend this up in my tiny little NutriBullet. I do have to stop several time and scrape the mixture down the walls and keep going, but I promise it’s worth it!)
  3. While you’re blending you will find that you need to add small amounts of liquid to get the pudding to the right consistency. Slowly add water or coconut milk, but be sure to not add more than you need because you want pudding, not soup. I typically end up adding a tablespoon or a little more but I do it a tiny bit at a time.
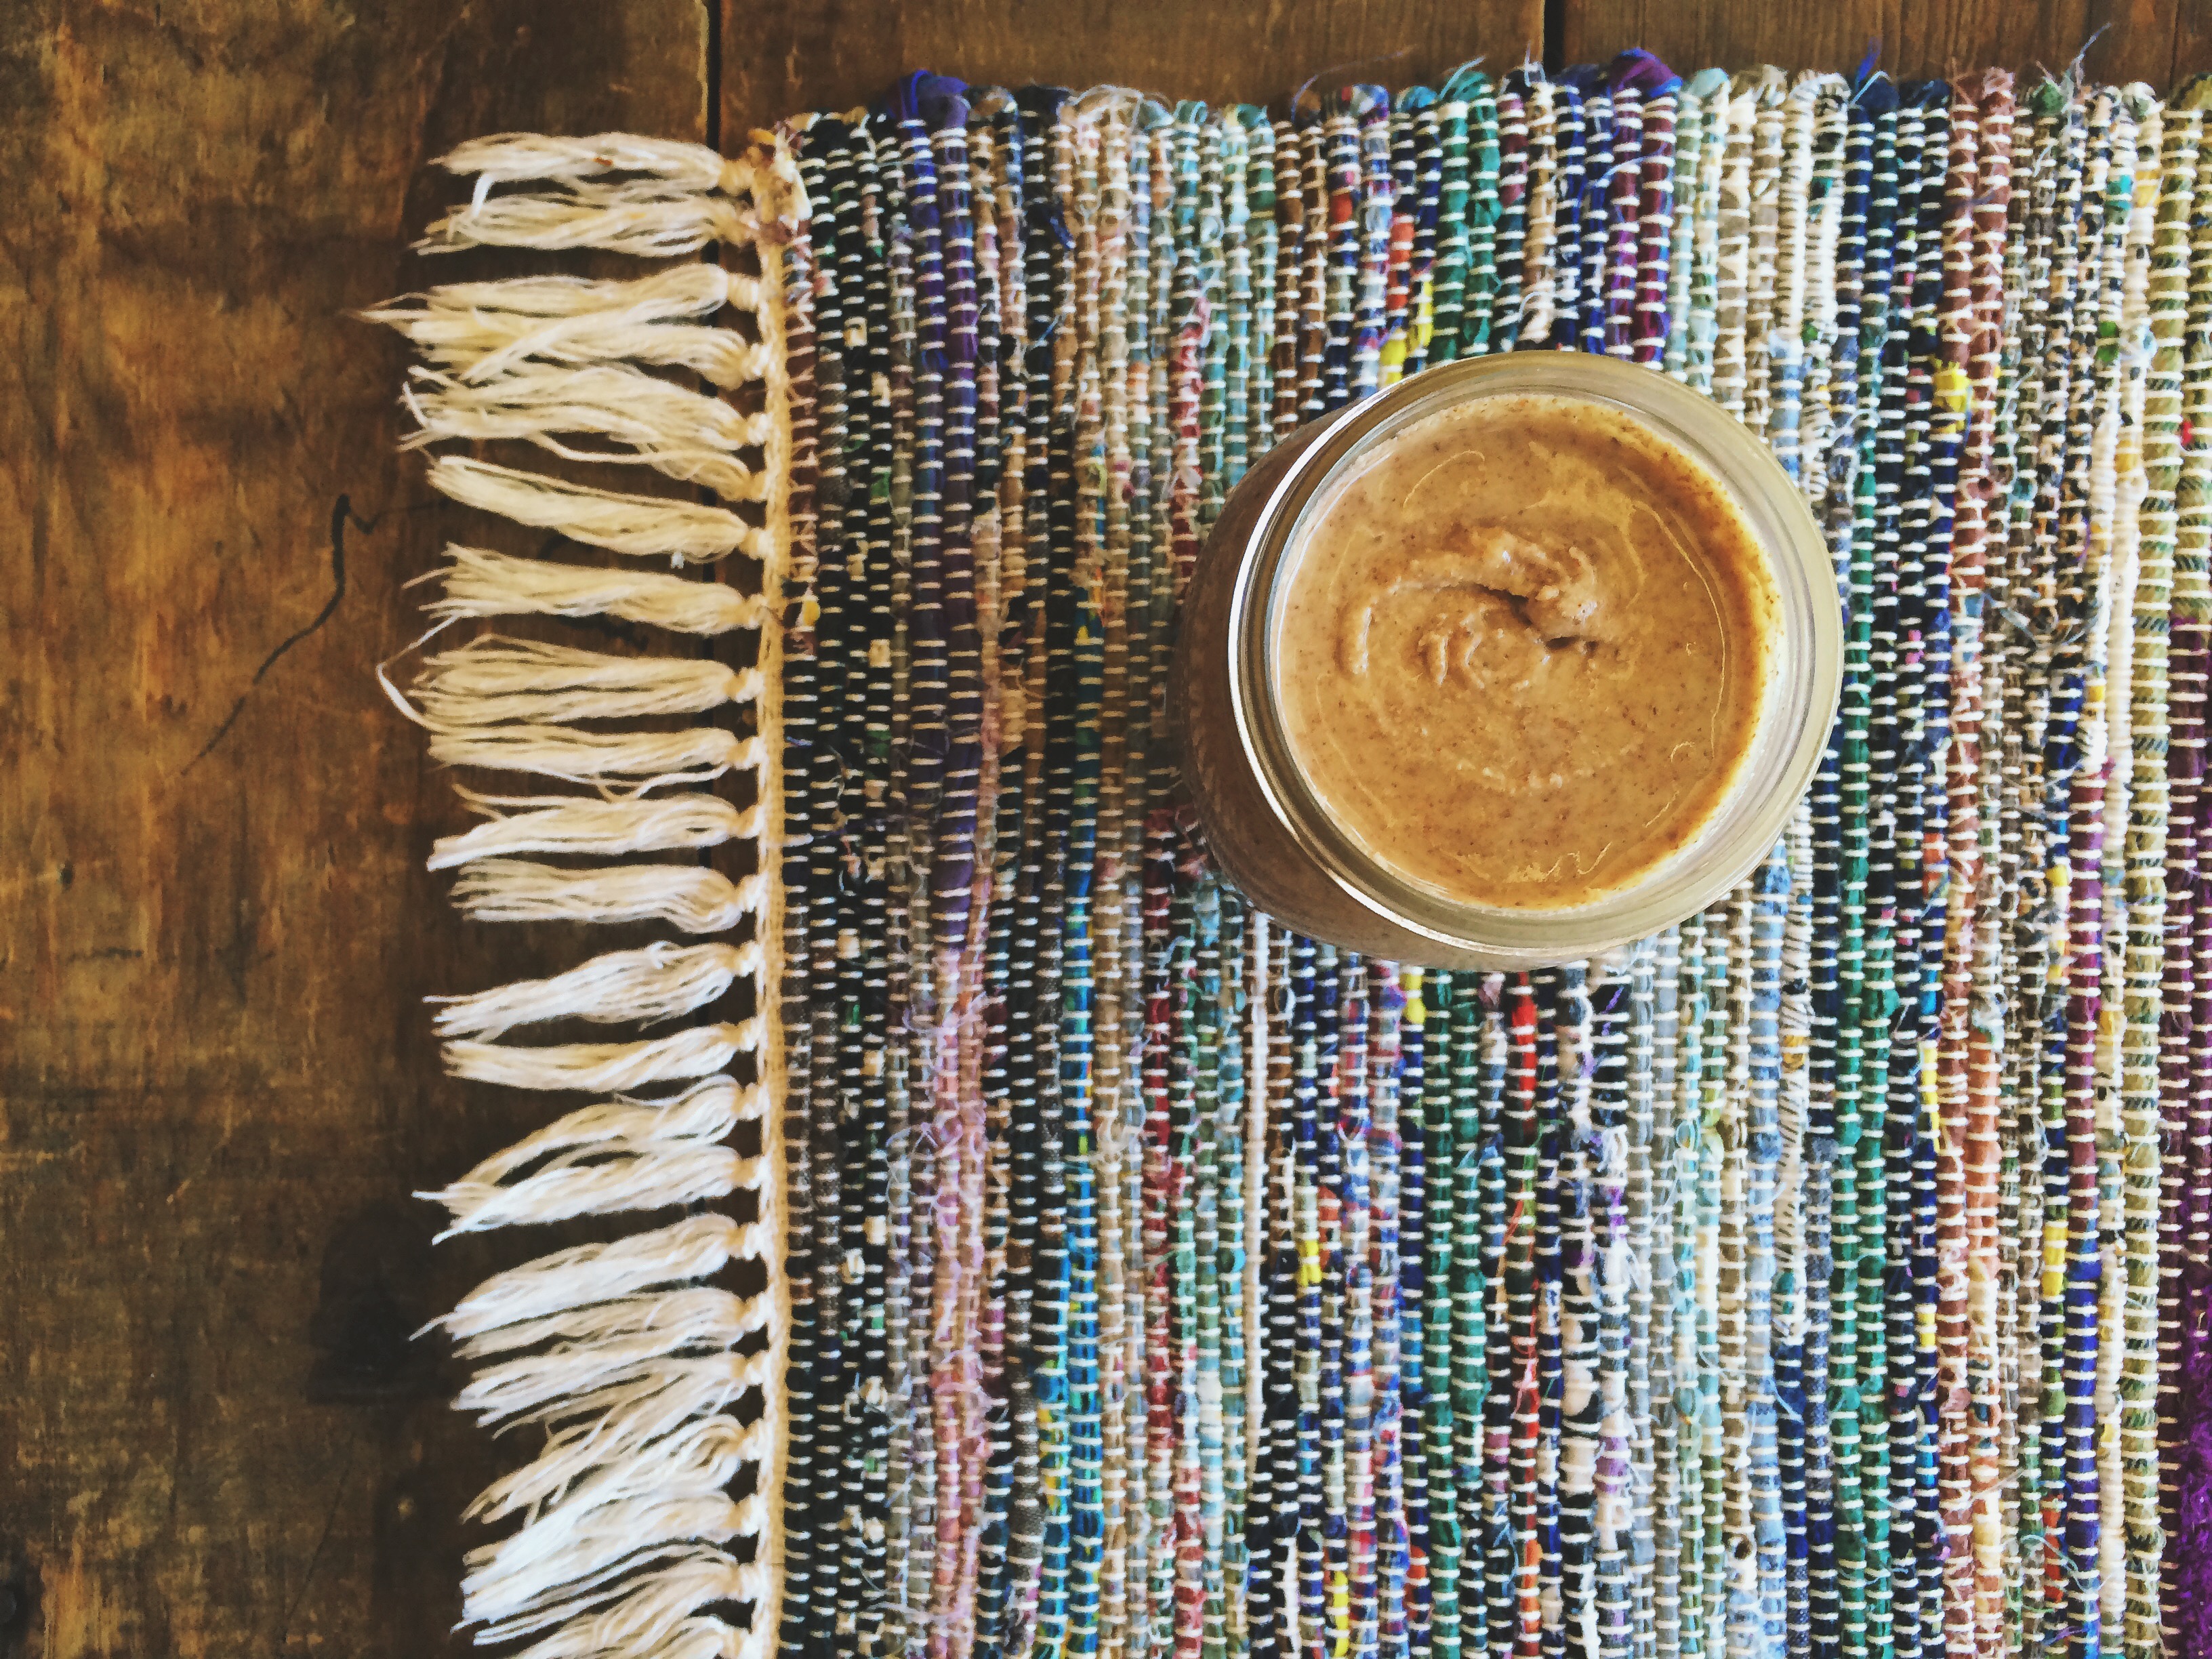
  4. Now put your pudding in the fridge for a while and serve it cold. Topped with raspberry chia pudding. Or coconut whipped cream. Or almond butter. Or use it as a pie filling. Or make fudgsicles. The opportunities are endless!

There you have it. I hope it made all of the armpit talk worth it. Let me know how your pudding turns out, better yet take a photo and tag it to #thecrunchyconfessional so I’ll be sure to see it! And now i’m off to watch Friends on Netflix until one of my children wakes up needing a snack and sixteen cups of water before they go back to sleep. Sweet dreams everyone. IMG_0090